Appearance
Getting Started with Social Presence Extension
Get a License
To begin using the Social Presence Extension, you’ll need a valid license:
Visit our official website and navigate to the pricing section.
Choose a plan that fits your needs and proceed to checkout.
After successful payment, your license key will be emailed to you.
Keep this key handy, as you’ll need to input it in the extension to activate it.
Install the Extension
Once you have your license, you need to install the extension:
Open your Chrome browser and go to the Chrome Web Store.
Search for Social Presence Extension or our direct link.  Click on Add to Chrome, then Add Extension to install.
Once installed, Pin the extension for the icon to appear in your browser's toolbar. ![]()

Add the License to the Extension
Activate your extension by entering the license key:
Click on the extension icon in the browser toolbar then click on the settings link.
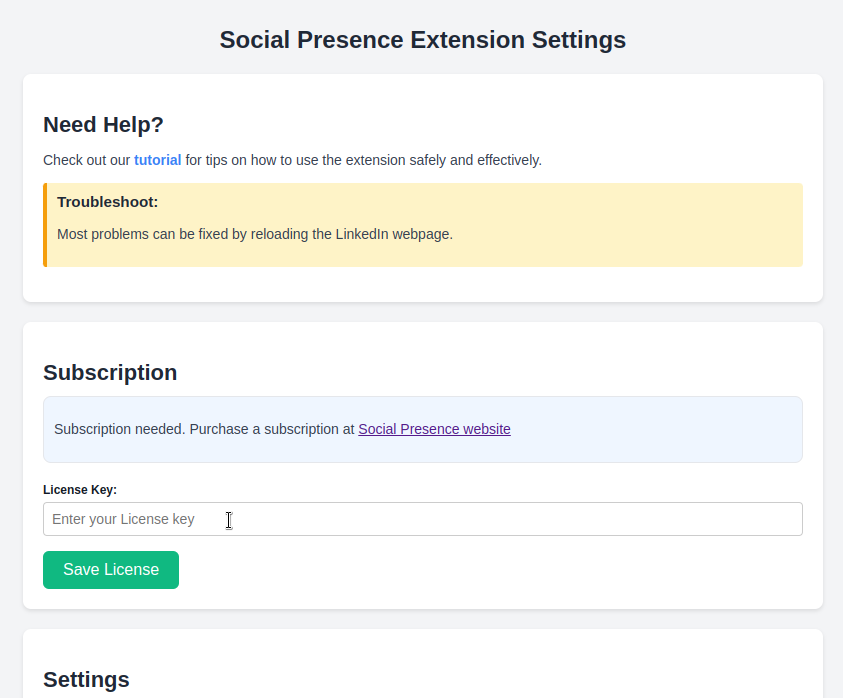
A settings page will open, prompting you to enter your license key.
Paste your license key into the License Key input field.
Click Save License to activate your subscription.
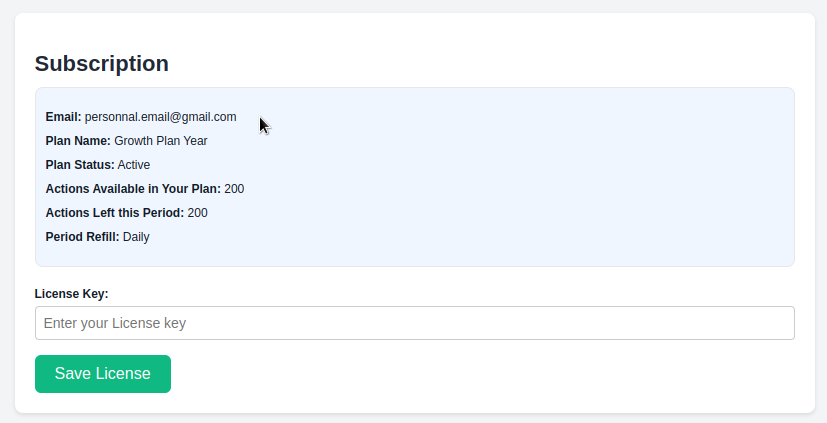
The details of your subscription wil appear if the key is valid.

Make a Search
The core of the extension’s functionality is based on interacting with search results on LinkedIn:
Visit LinkedIn and perform a search based on your target audience or connections and filter on posts. 
Make sure to customize your search filters for more effective engagement.
The results will be the posts we'll interact with.
Fetch Identities (Optional)
Identities allow you to interact as yourself or as one of your page Fetching identities is useful only if your admin a page.
Click on the extension icon in the browser toolbar, then click on Update Identities. The extension will pull identities names from your account.
Then choose the one you want to interact as.
Customize the extension’s behavior by setting filters:
Define which post to interact with by changing the filters.
The filters are disabled if left at 0.
You can choose to only interact with post having more/less than a number of reactions or comments.

Choose the type of interaction of reactions:

Define limits for the number of actions to perform.

Setting Delay (Optional)
On the settings page (accessible by the settings button):
Adjust the delay between each action to reduce the risk of being flagged as spam. A delay of more than 20 seconds is advisable.
If you have a slow connection try to increase the delay.

Launch
Click Start to launch the extension’s automated sequence.

You will see the webpage scroll on its own and starting interact with the posts.
Do not close or change tab but you can change window.
We recommend you open the LinkedIn webpage in another window, if you want to keep using your browser.
To check of the extension worked you should see reactions on some posts on the current page, like so:

History
If the popup closed the number of actions performed is saved on the setting page in the history section.

Troubleshoot
If you have any error, try reloading the webpage.